The RPi Screen Clock - the beginning
Introduction
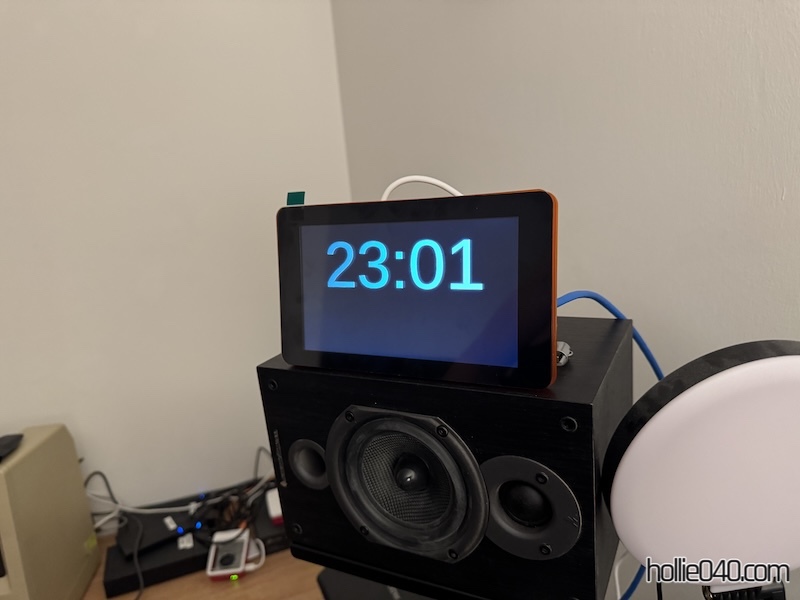
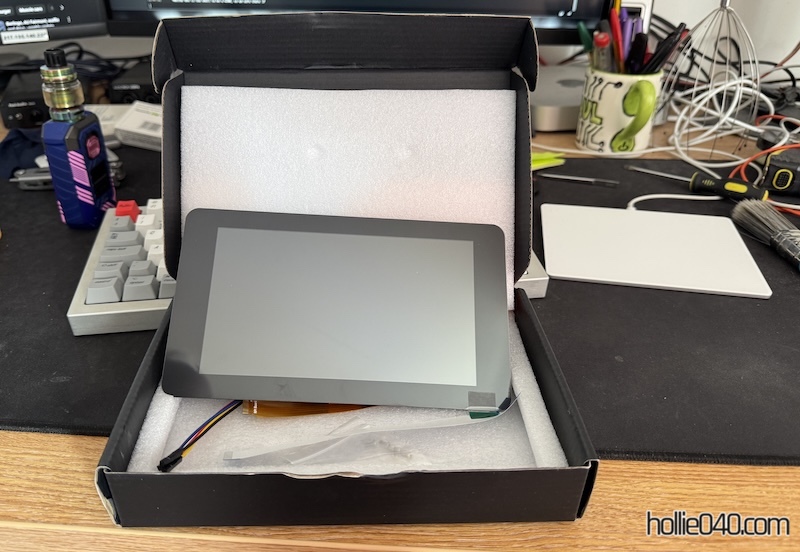
Recently I was given a lovely 7" touch screen display meant for a Raspberry Pi (and similar) devices by a friend. This obviously meant I had to figure out a use for it, and what I came up with was to turn it into a combined clock/temperature display for my office to replace the somewhat unreliable analogue clock on the wall. Admittedly this doesn’t use the touch screen functionality, but right now I don’t have any sort of use case that would require it, so perhaps that can be a later project.
Around the same time I was able to acquire a secondhand Raspberry Pi 4B from another friend which would do nicely in this application, although perhaps it’s a bit overkill. Either way, it’s what I have so I’m determined to make it work.
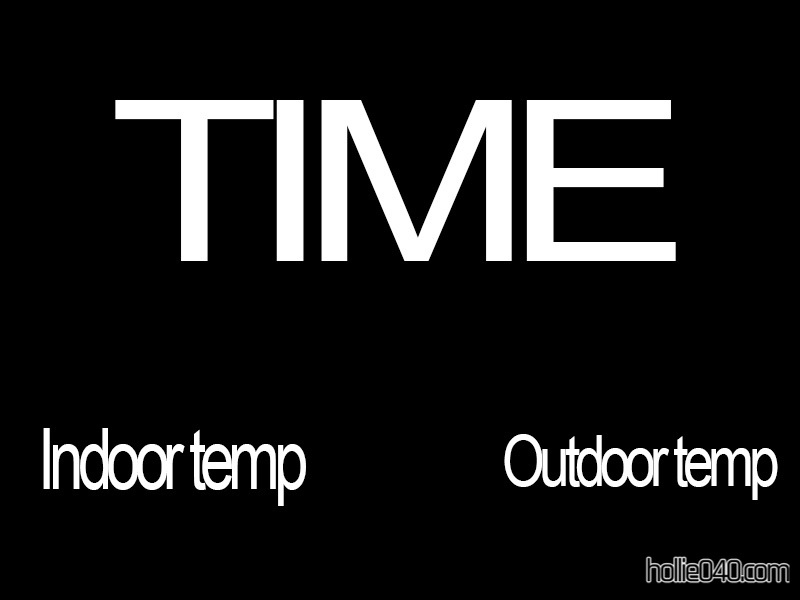
This is roughly what I’m planning:
A note and disclaimer:
I’ve probably said this before, but I am not any sort of coder/programmer. I get things working using trial and error and a lot of Googling. I’m going to provide code examples this time, but I’m fully aware that there’s probably a better way of achieving the same goal, this is what worked for me with my limited experience and knowledge. You’re welcome to try this at home, normal warnings apply that it’s not my fault if you manage to hurt yourself or burn your house down.
Let’s go shopping and build stuff
I’m going to need some more parts before I put this all together, so time to hit The Pi Hut for supplies. The Raspberry Pi mounts directly to the back of the screen with some handily supplied screws, but the screen itself needs some sort of mount. For cheapness and convenience, I went for this simple stand. For later use, I also got a BME280 (LINK THIS) temperature/humidity/air pressure module, I’m only planning on using it for temperature but I guess I could work in some extra data in the future.
Once everything showed up, it was time to put it all together, which is simple enough just following the instructions. The screen actually sticks to the layers of acrylic from the front.
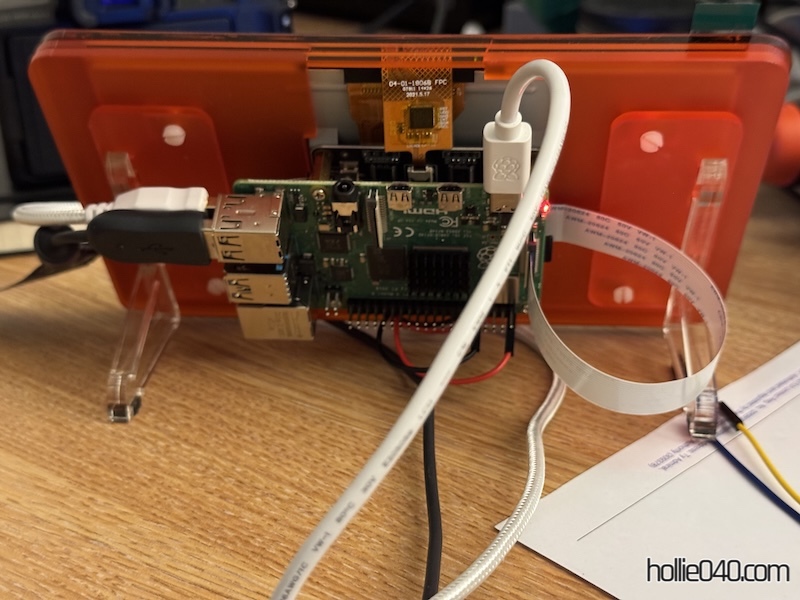
Now it’s constructed, I got it running with the desktop version of Raspberry Pi OS (Debian 12, technically). I need the desktop version as the plan will be to use a web browser to display a page which will in turn display the data.
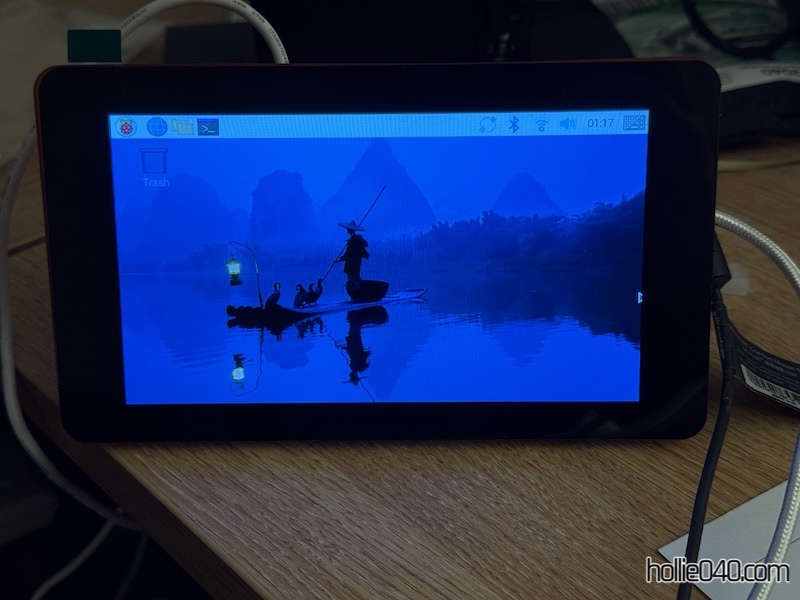
One little quirk; the screen is actually installed upside down in the stand, so the first task is to go into the display settings and change the orientation to ‘180’ so it displays the right way up.
Now to make it actually do something
Firstly I’m going to need to install a web server to ‘serve’ the page which will be displayed. I chose nginx as that’s what I’m familiar with, but Apache would be fine as well as it’s not going anything particularly complicated. No further configuration outside of installing nginx is required.
sudo apt install nginx
Next, we want a web browser to start up when the Pi does on boot. Chromium has what they call a ‘kiosk mode’, which makes it run full screen and is perfect for this. To make it work on current Debian 12-Raspberry Pi OS, I did the following:
- Make the required directory:
mkdir -p .config/autostart - Create a inside said directory, I called mine ‘browser.desktop’:
nano .config/autostart/browser.desktop - Add the following:
[Desktop Entry] Type=Application Exec=chromium-browser http://localhost --kiosk --noerrdialogs --disable-infobars --no-first-run --ozone-platform=wayland --enable-features=OverlayScrollbar --start-maximized
This command starts up Chromium on boot in kiosk mode, and then automatically loads the index.html from the local webserver (“localhost”).
Now we have out background, as it were, time to get a clock running. Pun completely intended. I’m using Javascript to do this. Dumping all the code below; this is good enough for a basic clock. Also, I’ve added a small bit of CSS which puts the clock where I want it on the page and makes it large enough to see, some trial and error happened here before I decided on 180pt being correct.
<!DOCTYPE html>
<html>
<head>
<style>
body { background-color: black;
font-family: Tahoma, Verdana, Arial, sans-serif; }
#time { color: white;
font-size: 180pt;
text-align: center; }
</style>
<script>
function startTime() {
    var today = new Date();
    var h = today.getHours();
    var m = today.getMinutes();
    var s = today.getSeconds();
    m = checkTime(m);
    s = checkTime(s);
    document.getElementById('time').innerHTML =
    h + ":" + m;
    var t = setTimeout(startTime, 500);
}
function checkTime(i) {
    if (i < 10) {i = "0" + i};  // add zero in front of numbers < 10
    return i;
}
</script>
</head>
<body onload="startTime()">
<div id="time"></div>
</body>
</html>
And now when we boot up the Pi, it automatically loads Chromium in full screen, and the clock script starts. This is a pretty good start in my opinion and gives me something to build on for the next section, in which I’ll tackle what I consider to be the trickier bit, adding the sensor for the internal temperature and displaying the outcome.